No products in the cart.
Return To ShopEvery painting has an ugly stage.
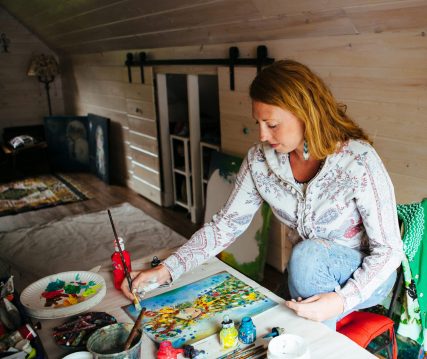
I’ve been painting nearly every day for over ten years. But I still get stuck and frustrated.
If I’m not liking my painting, I generally have to cover it up.
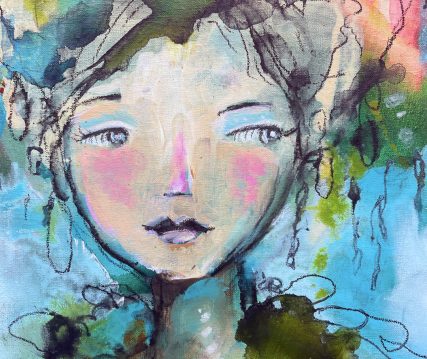
Usually, the parts I don’t like are either my character’s eyes, posture or face shape. If it’s the eyes that I don’t like (or the entire face), I’ll often pour water on top and smudge the features out.
Then I’ll try and work with the lines and marks that are left.
This helps to give me a new place to begin, but since I can still see some old outlines, it’s a way to continue what was already there and push the painting in a new direction.
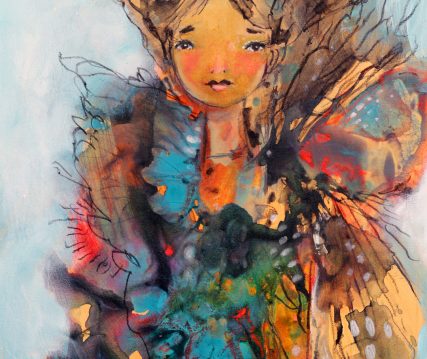
The other day I was looking back at my progress photos for this painting (she’s called ‘Reflect The Magic’ – the original is sold, but prints are available here).
She changed from a woman to a cat to an owl then back to a woman again.
I felt like I’d never get it right.
It wasn’t until I saw some of her owl wings left in the paint that I gave her feathers. From there, she came alive.
It’s all such an intuitive process. Anything I plan or try to paint from my head, just never works out.
The layers help me let go and find freedom.
If I’m feeling really intimidated, I’ll redraw the character with their eyes closed.
This is one of the easiest ways to fix a character and instantly gives calm to a painting (it’s something I also share in my Free Painting Workshop, which you can get instant-access to right here).
Even if that’s not what you see in the finished piece, it usually softens my character so I like it again and can move forward.
Once I like my painting again, I feel more confident.
So often I cover up my face for what feels like the hundredth time. Then I finally realize I just need to have fun and go back to the techniques and colors I love (that’s when the magic happens).
For cheeks, my favorite supply is a fluorescent pink paint pen. But the other day, my studio table was a crazy mess and I couldn’t find any of them.
When my face is already at an ugly stage, I’m not so afraid to ruin it.
So I grabbed a fluorescent red acrylic ink and mixed it with titanium white acrylic paint to see what would happen… and I got the most incredibly soft cheeky color.
While I often feel like my favorites work best, sometimes it just takes a bit of serendipity to push me out of my comfort zone. Then I can let go and uncover something even more beautiful.
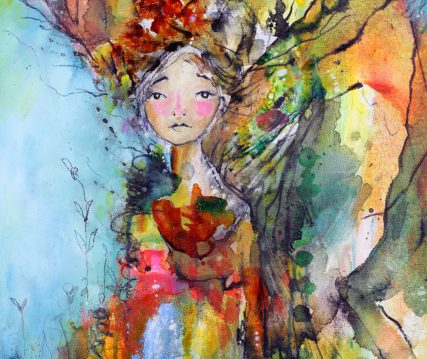
You can see more paintings from my latest collection here in my shop.
So many of you have been asking to learn more about how I paint my eyes and faces, so I’ve put together my FACES – Mixed Media Portraits class.
In these videos, you’ll see how I add layers to my eyes and faces, using some of my favorite mixed media supplies like tissue papers, acrylics, inks, oil paintsticks, paint pen and water-soluble pencil.
Whenever I’m stuck with a face, I look back at my past paintings.
I see what I’ve done before to make my face work.
Maybe it’s a spalsh of cobalt teal at the forehead that added depth. Or extra lashes and a little pink and purple that made the eyes look soft and alive.
I created Faces class to help you overcome creative blocks and develop your own style, especially when painting eyes and faces.
“I’m taking FACES to help me find more freedom and whimsy in my style. What I have also found as I take this class is inspiration-inspiration in finding “my voice” with the art I create. The class group has been so fun! All the lovely comments and art from co-students has been a joy for me.” – Alison Pillette
Click here to learn more about Faces class.
Happy Painting!
xo Juliette Crane
P.S. Want to watch a painting from start to finish? I’ve posted a fun owl painting project from my Whimsical Animals class here on my blog.
To get started, you can also try this quick project in your sketchbook.
P.P.S. If you’ve been wanting to paint together, but don’t have a lot of time, I’ve also put together my Happy Painting Mini Course, which has five-instant-access projects to get you started.
Click here to Learn More About My Happy Painting Mini Course.
Comments are closed


HELLO
I'M JULIETTE
A painter, writer, and creator of The School Of Happy Painting, online courses to help you loosen up, let go, and develop your own unique style.
Join me for a Free Workshop!
Want to know how I create my paintings? Join this free workshop to learn the fundamental principles I use to paint with style and whimsy, from covering up the white space to final artwork. Follow along to paint your own character in 30 minutes.


