No products in the cart.
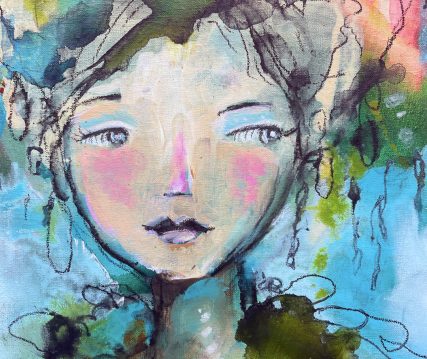
Return To ShopBefore I can even begin to paint a face, I have to loosen up and play. That way I feel more free once I add my character.
Here’s 5 Ways to Cover up the White Space + Create Luscious Layers:
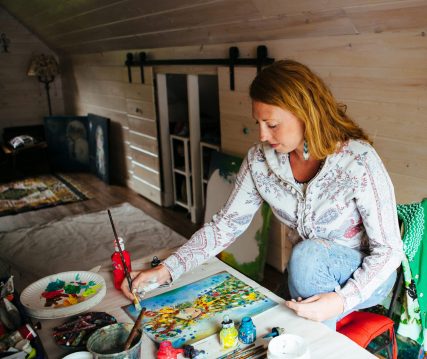
- Fingerpaint – My favorite way to cover up a blank canvas is to fingerpaint. There can never be a wrong way and it’s so fun to smoosh paint around. I squeeze out 2-3 colors right onto my painting surface, smudge them together and add extra fingerprints to see what happens. I usually begin with colors I’ve bought but don’t love or never use, since my first layers generally get covered up. It’s a fun way to uncover new color combinations and keeps me less attached to the outcome.
- Create a landscape – I’m always taking photos of vast skylines, open fields and farmlands, so I often keep these landscapes in mind when covering up the white space. I’ll squeeze 3 colors right onto my painting surface (maybe cobalt teal and titanium white acrylic paints, then a spill of fluorescent green acrylic ink) and, using a wide or foam brush, I spread the color back and forth horizontally until I come up with a soft, very imperfect sky, horizon line and ground. This is fun to do with a beach landscape in mind too (using coral, pink and yellow sunset hues).
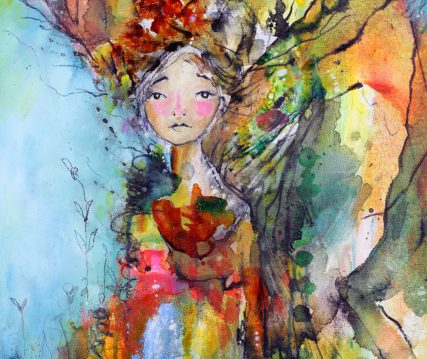
- Add Ink – Right now, I’m especially loving the look of many thin layers to get a stained glass effect. If I don’t like the color of something, I’ll brush my favorite color of acrylic ink on top (once the other layers have dried).
- Layer different supplies – It’s fun to layer lots of inks and acrylics, then let them dry before adding a bit of soft pastel, water and titanium white on top. As it all dries, the colors really intensify.
- Paint circles – For a while I felt like all of my backgrounds were looking the same. Sure, my first layers generally get covered up, but they still initially inspire my character. So I got inspired by floral wallpaper and began to create with circles. I choose 3 colors – one color for a pattern of circles, one color for an outline around each circle, and one color to fill in any leftover white space. It’s such a medatative process that slows me down so I can begin to pencil in my characters with more magic.
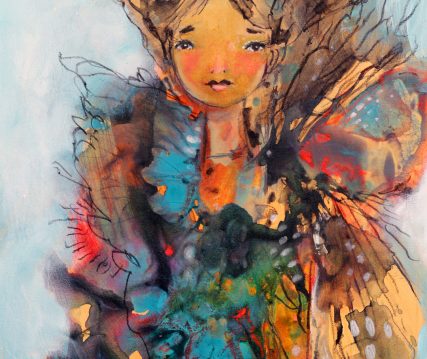
No matter which of these techniques I use to add more whimsy to my paintings, my intention is always to play and have fun covering up the blank canvas in my first layers before I add my characters, so my process remains loose and free, focused on experimenting and having fun.
It all reminds me there’s no right or wrong way.
If you’d like to get started now, in this 19 minute video from my Serendipity 1 – Develop Your Style online course you’ll see how I incorporate these techniques into my artwork, so you can play and have more fun.
It has taken a lot of paintings and mistakes to create with this freedom, but it’s completely do-able — you can learn how in my Serendipity 1 – Develop Your Style online course (which just started) and Serendipity 2 – Loosening Up With Mixed Media (which is available as a self-paced course for a limited time).
I hope that all helps to keep you inspired!
xo Juliette
Comments are closed


HELLO
I'M JULIETTE
A painter, writer, and creator of The School Of Happy Painting, online courses to help you loosen up, let go, and develop your own unique style.
Join me for a Free Workshop!
Want to know how I create my paintings? Join this free workshop to learn the fundamental principles I use to paint with style and whimsy, from covering up the white space to final artwork. Follow along to paint your own character in 30 minutes.


