You can find the full list of all 7 Weeks of Creative Celebrations here.
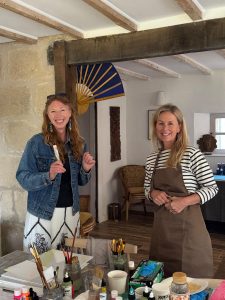
Welcome to Week 4 of 7 Weeks of Creative Celebrations!
It’s been such a joy seeing what you’re creating through these weeks — so many beautiful paintings shared. I’m so thankful that you’ve joined me on this creative journey.
For those of you who share a passion for creative inspiration, I invite you to explore my lifetime access classes with 50% off by clicking here.
Let’s paint!
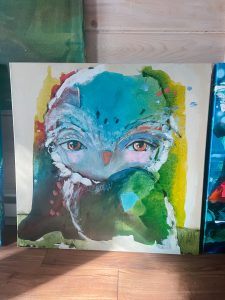
This Week’s Mini-Class: Whimsical Animals
We’re continuing the celebration with a full-length tutorial from my Whimsical Animals class. You can explore the full course here.
In this 13 minute video, you’ll see how I begin by covering up all the white space (always my first step!) and layering a few favorite supplies — watercolors, paint pens, pastels, even collage papers — to create depth and flow before adding a sweet little animal on top.
The project I share features a fox, but you can paint any animal you love. You’ll learn how to:
🎨 Build depth and personality with mixed-media layers
🎨 Create expressive faces with warmth and emotion
🎨 Work through the “messy middle” and keep going with curiosity
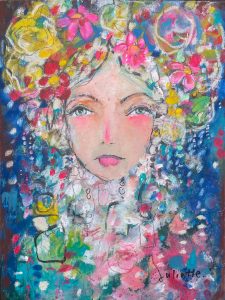
I always remind myself — and my students — that there’s no right or wrong way. Every painting begins as a playful experiment. Some of my favorite pieces have started as “mistakes” that I painted over after a few days. Taking a walk between layers often brings clarity — and space to fall back in love with my process.
If you stop having fun, try fingerpainting or scribbling with your favorite colors. Sometimes that’s all it takes to find your way back. Remember, there is no right or wrong way here. The beauty lies in the imperfections.
ART SUPPLIES: It’s okay if you don’t have all of these exact supplies and colors for each project. I like to use up what I have already. So if you see me scribble or layer with something, it’s not necessarily essential. Feel free to use whatever art supplies you have around and just play with those too.
*If you don’t have a stabilo pencil for this project, dark ink (calligraphy, acrylic or india ink), dark acrylic paint or a black water-soluble oil pastel will work too.
* 9×12″ bristol paper (I’m using smooth)
* watercolors
* paint pen (I’m using neon pink and white)
* stabilo pencil, black
* inktense blocks (poppy, turquoise), soft pastels or chalk pastels will work too
* water-soluble oil pastels (I’m using Portfoilo brand)
* oil paint stick (I’m using a Shiva brand in antique white)
OPTIONAL
* calligraphy ink (blue black)
* calligraphy brush
* fluid acrylics (I’m using neon pink by Golden, but I prefer the medium body paints over the fluids unless it’s quinocrodone nickel azo gold fluid, which I love for faces)
THINGS TO REMEMBER
*I always begin every painting by covering up the white space. This allows my underneath layers to show through in the final painting and creates lots of depth. Since I know my first layers will be covered up, I don’t pay too much attention to what paper is going where. I just have fun with it.
*Add 3-4 different supplies to your background when you cover up the white space. This will help give your background a luscious depth, which will then add depth to your character. Here, I’m using water soluble oil pastels, watercolors, paint pens and soft pastels.
*When using oils with water based supplies, I usually layer the water based supplies first, then I add the oils for pops of color or to cover something up, knowing the oils will be hard to go back over again, but that’s also how beautiful mistakes happen for me.
ART TIP
Whenever I’m having trouble covering up something I don’t like in a painting, I’ll often add collage papers on top: a circle of sheet music to restart a face, a strip of tissue to cover a body, or pieces of origami paper.
Thank you for being part of this creative journey with me.
Happy painting!
xo Juliette
Comments are closed


")

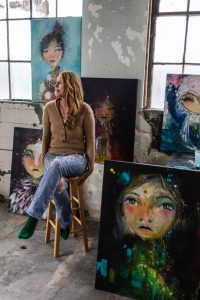
HELLO
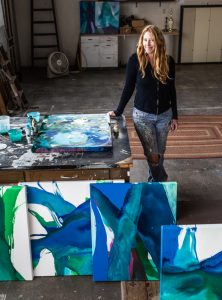
I'M JULIETTE
A painter, writer, and creator of The School Of Happy Painting, online courses to help you loosen up, let go, and develop your own unique style.
Join me for a Free Workshop!
Want to know how I create my paintings? Join this free workshop to learn the fundamental principles I use to paint with style and whimsy, from covering up the white space to final artwork. Follow along to paint your own character in 30 minutes.