You can find the full list of all 7 Weeks of Creative Celebrations here.
Welcome to Week 7 of 7 Weeks of Creative Celebrations!
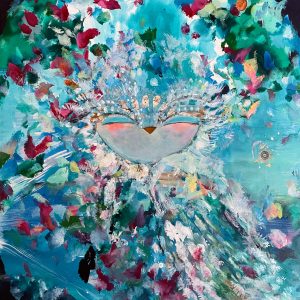
This week’s featured class: Enchanted – Soulful Eyes and Faces
When I picked up my brush again in 2009, I never imagined it would turn into a 16-year career as a full-time artist — launching over eighteen online classes, teaching and sharing my work around the world, directly with collectors, and now through amazing galleries. Honestly, in my heart, I just knew I needed to heal and reconnect with the part of myself I’d hidden away for too long.
That’s why this week’s creative celebration is all about painting with brilliant color. We’re painting eyes and faces with freedom — trusting our intuition and seeing where the color wants to take us.
I’m also happy to continue my gratitude sale: 50% off my most-loved online classes with lifetime access.
(You’ll also find them inside my Membership, if you prefer monthly or annual access.)
Let’s paint!


This Week’s Mini-Class: Enchanted Soulful Eyes And Faces
We’re continuing the celebration with a full-length tutorial from my Enchanted Soulful Eyes and Faces class. You can explore the full course here.
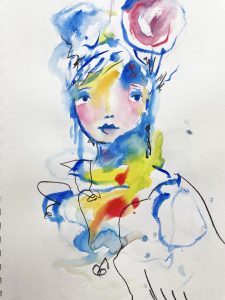
In this project we’re going to create a woman’s face with lots of color, and no right or wrong. Often when I paint, it’s difficult to cover up my painting. So this tutorial is meant to help you trust your gut and find more freedom in your faces.
I’ll be creating in my sketchbook, but feel free to use canvas or any loose paper for this project (watercolor paper, bristol paper etc.)
ART SUPPLIES:
*sketchbook
*watercolors
*chalk pastels
*watersoluble oil pastels (I’m using Caran d’ache Neocolor II in light blue, cobalt blue and orange)
*other supplies to color & scribble with (pastels, crayons, etc)
*paint pens
*acrylic inks (daler rowny brand in flesh)
*oil paintstick (I’m using Shiva brand in peach and antique white)
*stabilo pencil (black)
*pencil sharpener
*water bucket
THINGS TO REMEMBER
*If you’re having trouble staying loose, try using your non-dominant hand or scribbling with your eyes closed. While things might look like a mess at first, this always helps me to have fun, be bold and let go (and not take my painting quite so seriously).
*To keep the pages from sticking once the oil painsticks are dry, you can place wax paper between the pages. I also like to have a few sketchbooks around. I keep one for my stabilo pencil paintings and one for the oil paintstick, more layered pieces. That way, my cleaner, pencil paintings and drawings don’t end up with paint, pastel and fingerprints all over them.
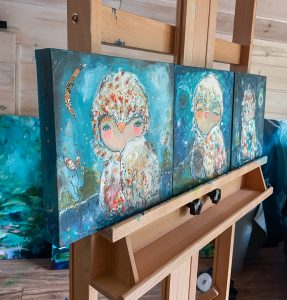
*Add several layers of different supplies to your eyes to really add depth and contrast. Don’t forget the white dots to really make them shine like magic.
ART TIP
Oil paintsticks can take 1-3 days to dry, depending on the brand you’re using (Shiva brand seem to dry the fastest for me). In my sketchbook, even if my oil paintsticks are wet, I’ll just turn the page, but not tuck it under (so it can stay loose and dry).
As you paint, I hope you’ll let the layers lead the way — no rules, no pressure, just lots of color. Give yourself permission to play and see where it takes you.
Happy painting!
xo Juliette
P.S. If you’d like to keep painting together, I invite you to check out these resources For Artists and Dreamers.
Comments are closed


")

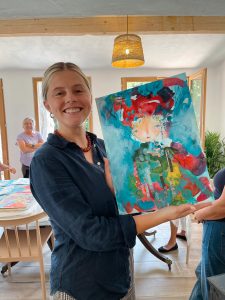
HELLO
I'M JULIETTE
A painter, writer, and creator of The School Of Happy Painting, online courses to help you loosen up, let go, and develop your own unique style.
Join me for a Free Workshop!
Want to know how I create my paintings? Join this free workshop to learn the fundamental principles I use to paint with style and whimsy, from covering up the white space to final artwork. Follow along to paint your own character in 30 minutes.